React Native is a cool framework for creating cross platform mobile applications with JavaScript, read all about it here – www.reactnative.com.
Lets dive right in and get the environment setup, for this example everything will be done on a Mac.
Development Environment Setup
First lets get some dependencies installed, the first is Node JS, One option for managing applications on a Mac is to use HomeBrew if you’ve not got HomeBrew installed you can get it going by;
/usr/bin/ruby -e "$(curl -fsSL https://raw.githubusercontent.com/Homebrew/install/master/install)"To install Node JS and npm using HomeBrew
brew install node
brew install npm
Now its time to bash on React Native CLI
npm install -g react-native-cli
Build Hello World Application
Ok, now lets create the scaffolding 🙂
react-native init HelloWorld

cd HelloWorld

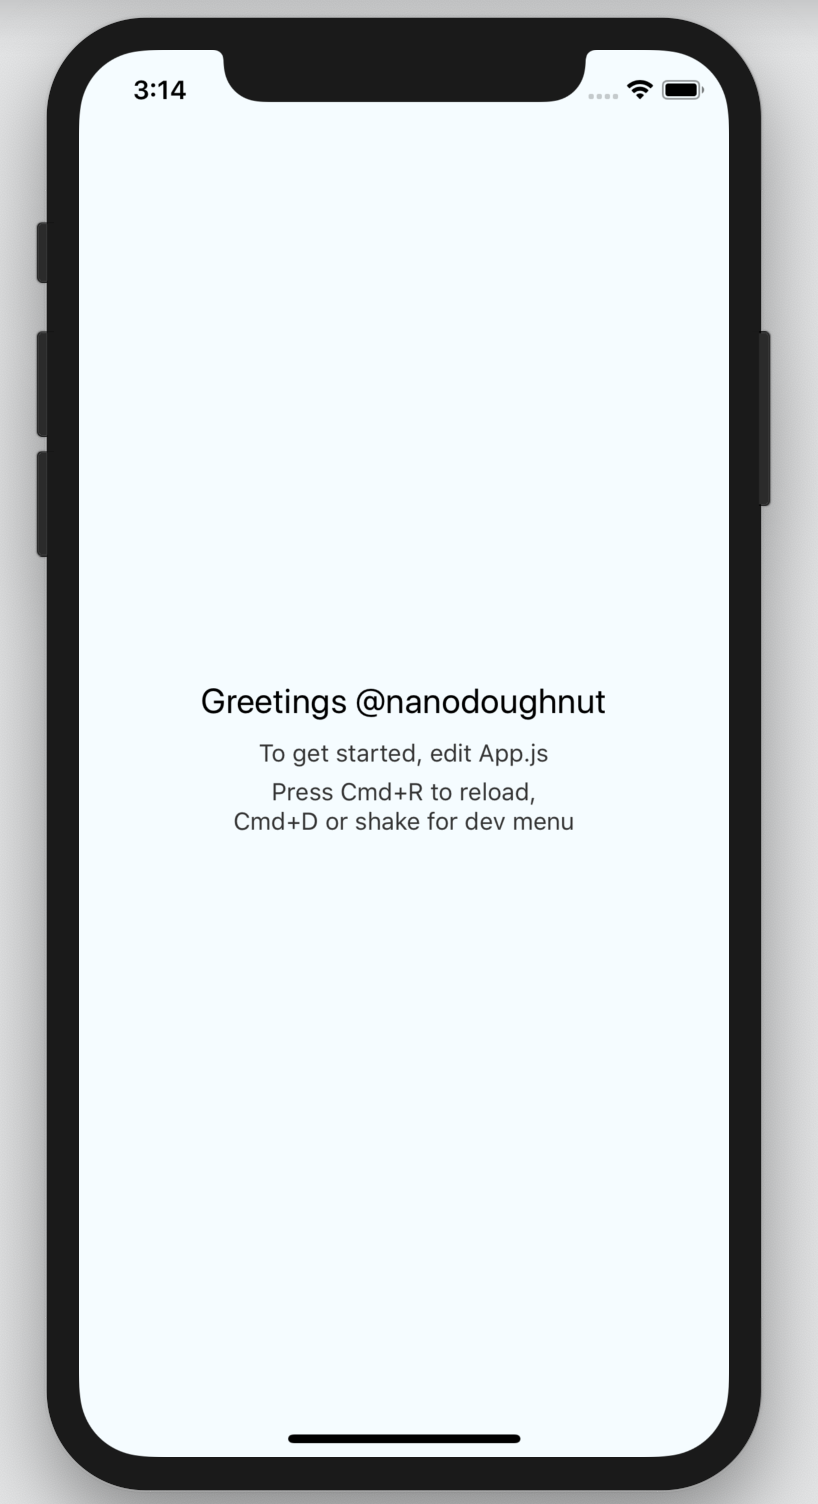
Time now to see how this looks in the emulator, for IOS , its the following
react-native run-ios
No you may get an error,
xcrun: error: unable to find utility “instruments”, not a developer tool orin PATH
If this happens, open up Xcode and go to Preferences > Locations and select dropdpwn for Command Line Tools. Click this select box and choose the version of XCode you’ll be using. Once you’ve done this, go back to the terminal and enter react-native run-ios.